Why muscle signals are a compelling robot control input
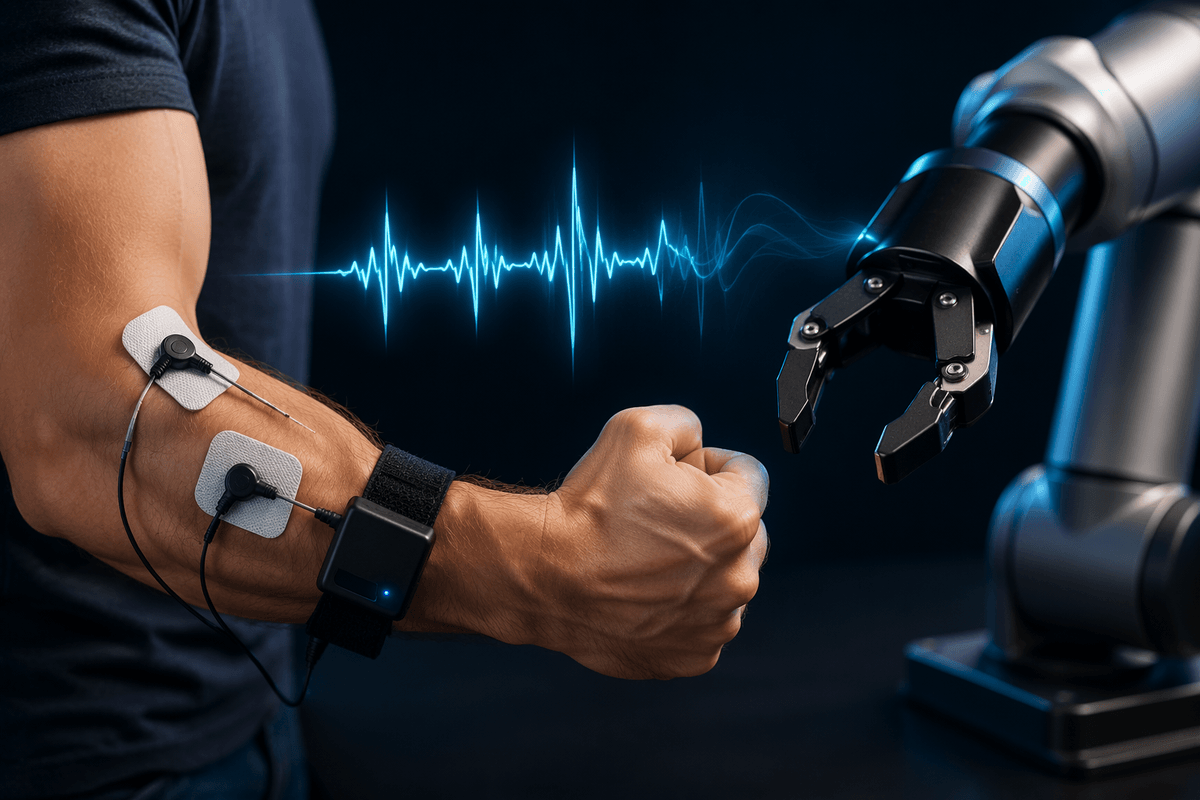
You’ve probably seen a robot respond to a joystick, a phone app, or a camera feed. EMG is compelling because it taps the same signals your body already produces to move, and it can work even when your hands are busy, gloved, or out of view. For a gripper or small arm, a few forearm muscles can provide distinct patterns for “open,” “close,” “rotate,” or “stop,” often with lower latency than vision-based intent.
EMG is not a plug-and-play “mind control” channel. Signals drift with sweat, electrode shift, and fatigue, so you’ll spend time on placement, filtering, and calibration, and you’ll still need safety defaults for false triggers.
Decide what you want to control: gestures, force, or intent
You’ll get better results if you choose a control target that matches what EMG is good at. Gesture control treats EMG as a pattern-recognition problem: “fist,” “pinch,” “wrist twist,” mapped to discrete robot actions like open/close or mode switches. It’s approachable, but it can break when your arm posture changes or when the robot needs more than a handful of commands.
Force control uses EMG amplitude as a continuous signal, like “grip harder as I squeeze,” which feels intuitive for grippers and rehab-style demos. EMG amplitude is a noisy proxy for actual force and changes with fatigue, so you’ll want a minimum/maximum clamp and a deadband. Intent control sits between: fewer, higher-level states (“assist,” “hold,” “release”) that tolerate ambiguity and make safety logic simpler.
Picking EMG hardware: electrodes, armbands, and DIY sensors
The first hardware choice is how many channels you need and how much setup time you can tolerate. Consumer armbands bundle multiple dry electrodes, amplification, and wireless streaming in one unit, so you can start collecting usable signals quickly for gesture-style demos. The downside is limited control over electrode placement, higher latency in some stacks, and signal quality that can fall off when the band shifts or your forearm shape changes during motion.
Disposable gel electrodes with a dedicated EMG amplifier give you cleaner signals and more predictable grounding, which matters for continuous force control and for comparing features across sessions. You pay for it in wiring, skin prep, and repeatability; every new placement is a new calibration. DIY sensors can work for learning, but plan for real costs: a proper instrumentation amplifier, isolation/safety considerations if you connect to a PC, and time chasing 60 Hz noise and motion artifacts.
Where to place sensors so signals stay usable
You can recognize bad placement quickly: one channel dominates no matter what you do, or everything spikes when the cable moves. Start with the forearm if you’re controlling a gripper or wrist-like actions, because the muscle groups are accessible and the patterns tend to be distinct. For a two-channel setup, place one pair over the flexor mass (palm-side, mid-forearm) and one over the extensor mass (back-of-forearm), with a reference/ground on a bony spot like the elbow or wrist. Keep electrodes aligned with the muscle fibers and separated by about 2–3 cm so you’re measuring local activity, not a blended average.
The repeatability is harder than the first setup. Mark locations with a skin-safe pen, shave if needed, and secure leads with tape or a wrap so motion artifact doesn’t look like a “command.” Avoid placing directly over tendons near the wrist, where small shifts and forearm rotation can change the signal more than your intended contraction.
Turning raw EMG into stable features in real time
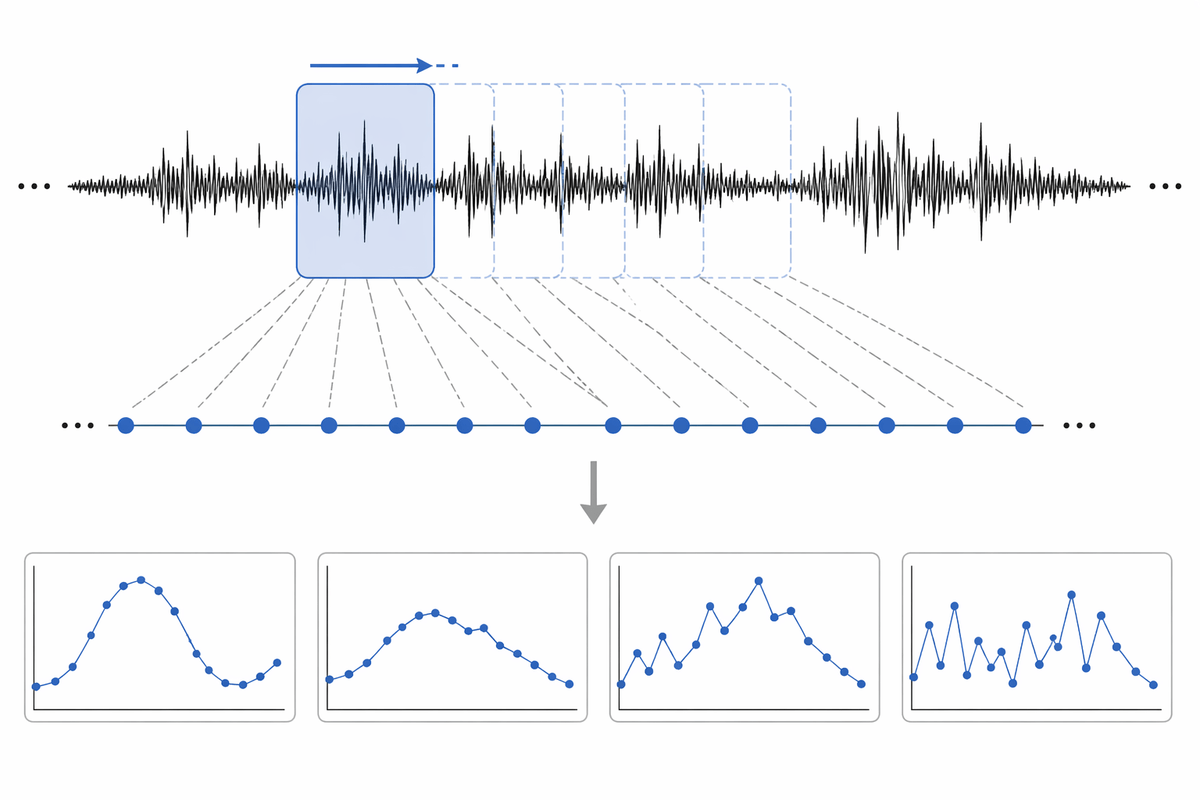
You notice the gap between “I can see the EMG wiggle” and “the robot does the right thing” the first time your baseline drifts. Real-time EMG is mostly about taming variability: sample fast enough (often 500–2000 Hz), notch or band-stop 50/60 Hz mains hum, then band-pass roughly 20–450 Hz to drop motion artifact and high-frequency noise. Full-wave rectify and low-pass to get an envelope if you’re doing force-like control, or keep the band-passed signal for pattern features.
Features need to be stable across small posture changes and electrode shift. A common approach is a sliding window (e.g., 150–250 ms with 25–50 ms updates) where you compute simple time-domain stats: RMS, mean absolute value, waveform length, and zero crossings. Normalize per channel using a quick max voluntary contraction (MVC) or a rolling percentile so “medium effort” stays medium as you fatigue. The longer windows smooth better but make the robot feel delayed.
Mapping muscle activity to robot commands without overfitting
Getting an EMG control demo running is usually the easy part. A handful of recorded gestures, a simple classifier, and a fixed command mapping can produce impressive early results. The weaknesses often appear later, when the conditions change. A system that performs well while you're seated may struggle after standing up, rotating your forearm, or repositioning the armband. Keeping the command set intentionally small and choosing a lightweight classifier often leads to better real-world performance than training a larger neural network on limited data. Methods such as LDA or logistic regression paired with a compact feature set frequently remain more stable, especially when regular retraining is part of the workflow.
Training data should reflect how the device will actually be used rather than focusing only on ideal demonstrations. Include multiple arm positions, relaxed "no command" periods, and the transitions between gestures instead of recording only clean, sustained movements. Decision logic benefits from a similar level of realism. Confidence thresholds and short confirmation windows help prevent a single noisy signal from triggering an unintended action.
Continuous control requires another layer of restraint. Mapping a normalized EMG envelope to speed or force works best when deadbands and output limits are applied first, allowing the robot's low-level controller to smooth the resulting motion. Expecting EMG signals alone to provide precise continuous control usually leads to accumulated drift, fatigue-related variation, and less predictable behavior over time.
Reliability and safety: fatigue, false triggers, and fail-safes
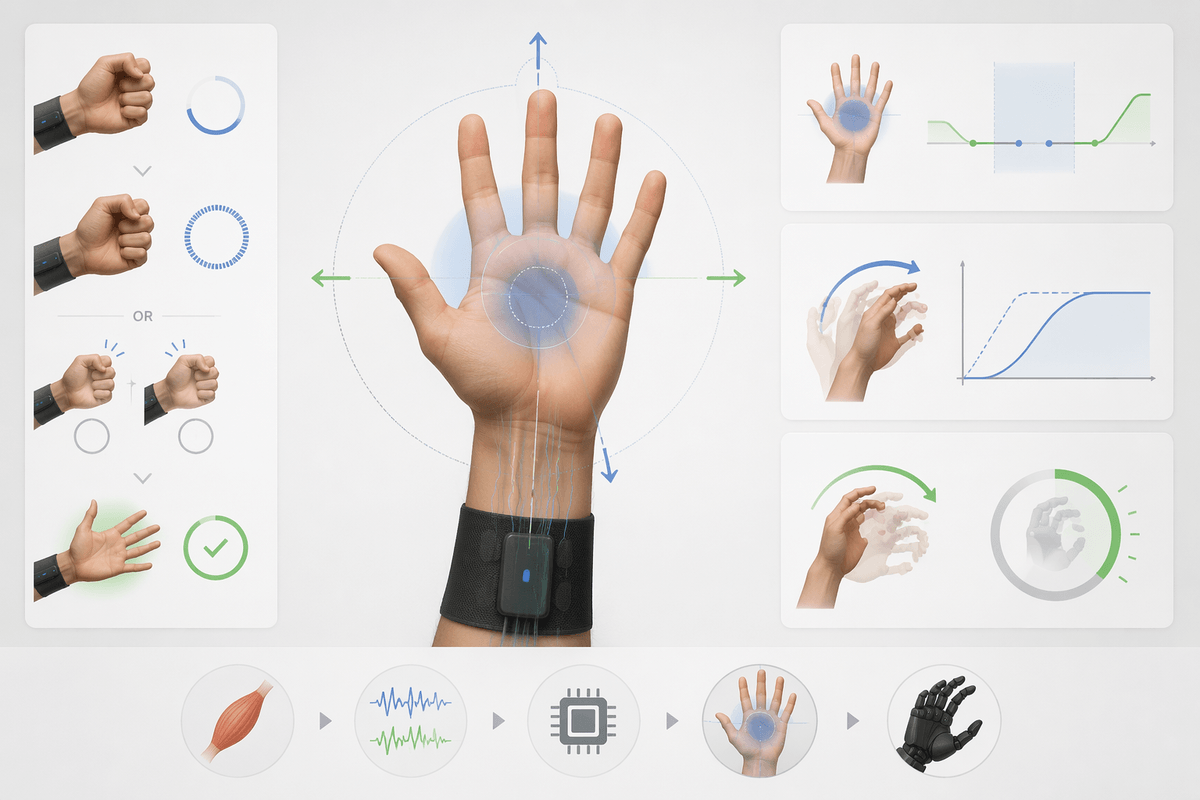
You’ll see reliability issues first as “it worked for five minutes, then got twitchy.” Fatigue raises effort for the same output, sweat changes skin impedance, and small electrode shifts change feature distributions, so thresholds that were safe become too sensitive. Plan for recalibration triggers (time-based, or when baseline noise rises) and treat “no command” as a first-class class, not leftover space between gestures.
False triggers are mostly a control-design problem. Add deadbands, rate limits, and minimum-hold times, and require a deliberate arming action (a long squeeze or a double-tap gesture) before motion. For anything that can pinch or swing, implement layered fail-safes: a physical E-stop, a software watchdog that stops on signal dropout or saturation, and conservative default behavior (stop, relax gripper) when confidence falls.
A simple prototype plan you can iterate in one weekend
Picture a setup you can debug at a desk: two EMG channels on forearm flexors/extensors, a microcontroller streaming data to a laptop, and a robot behavior you can test safely (a gripper that opens/closes slowly, or a mobile robot that only creeps forward). Spend the first hour getting a clean baseline: taped leads, 60 Hz notch, 20–450 Hz band-pass, then rectified RMS in a 200 ms window. Record three states—relax, squeeze, extend—across a few arm postures.
Start with thresholds, not ML: map squeeze RMS to “close” with a deadband and clamp, extend RMS to “open,” and require a 300–500 ms hold plus a simple arm/disarm gesture. Then add one upgrade per iteration: normalization (MVC or rolling percentile), hysteresis, and finally a small linear classifier if you need more than 2–3 commands. Expect the real cost to be repeatability: plan 5-minute recalibrations and treat “stop on uncertainty” as the default behavior.